Step 11; Look Sharp!
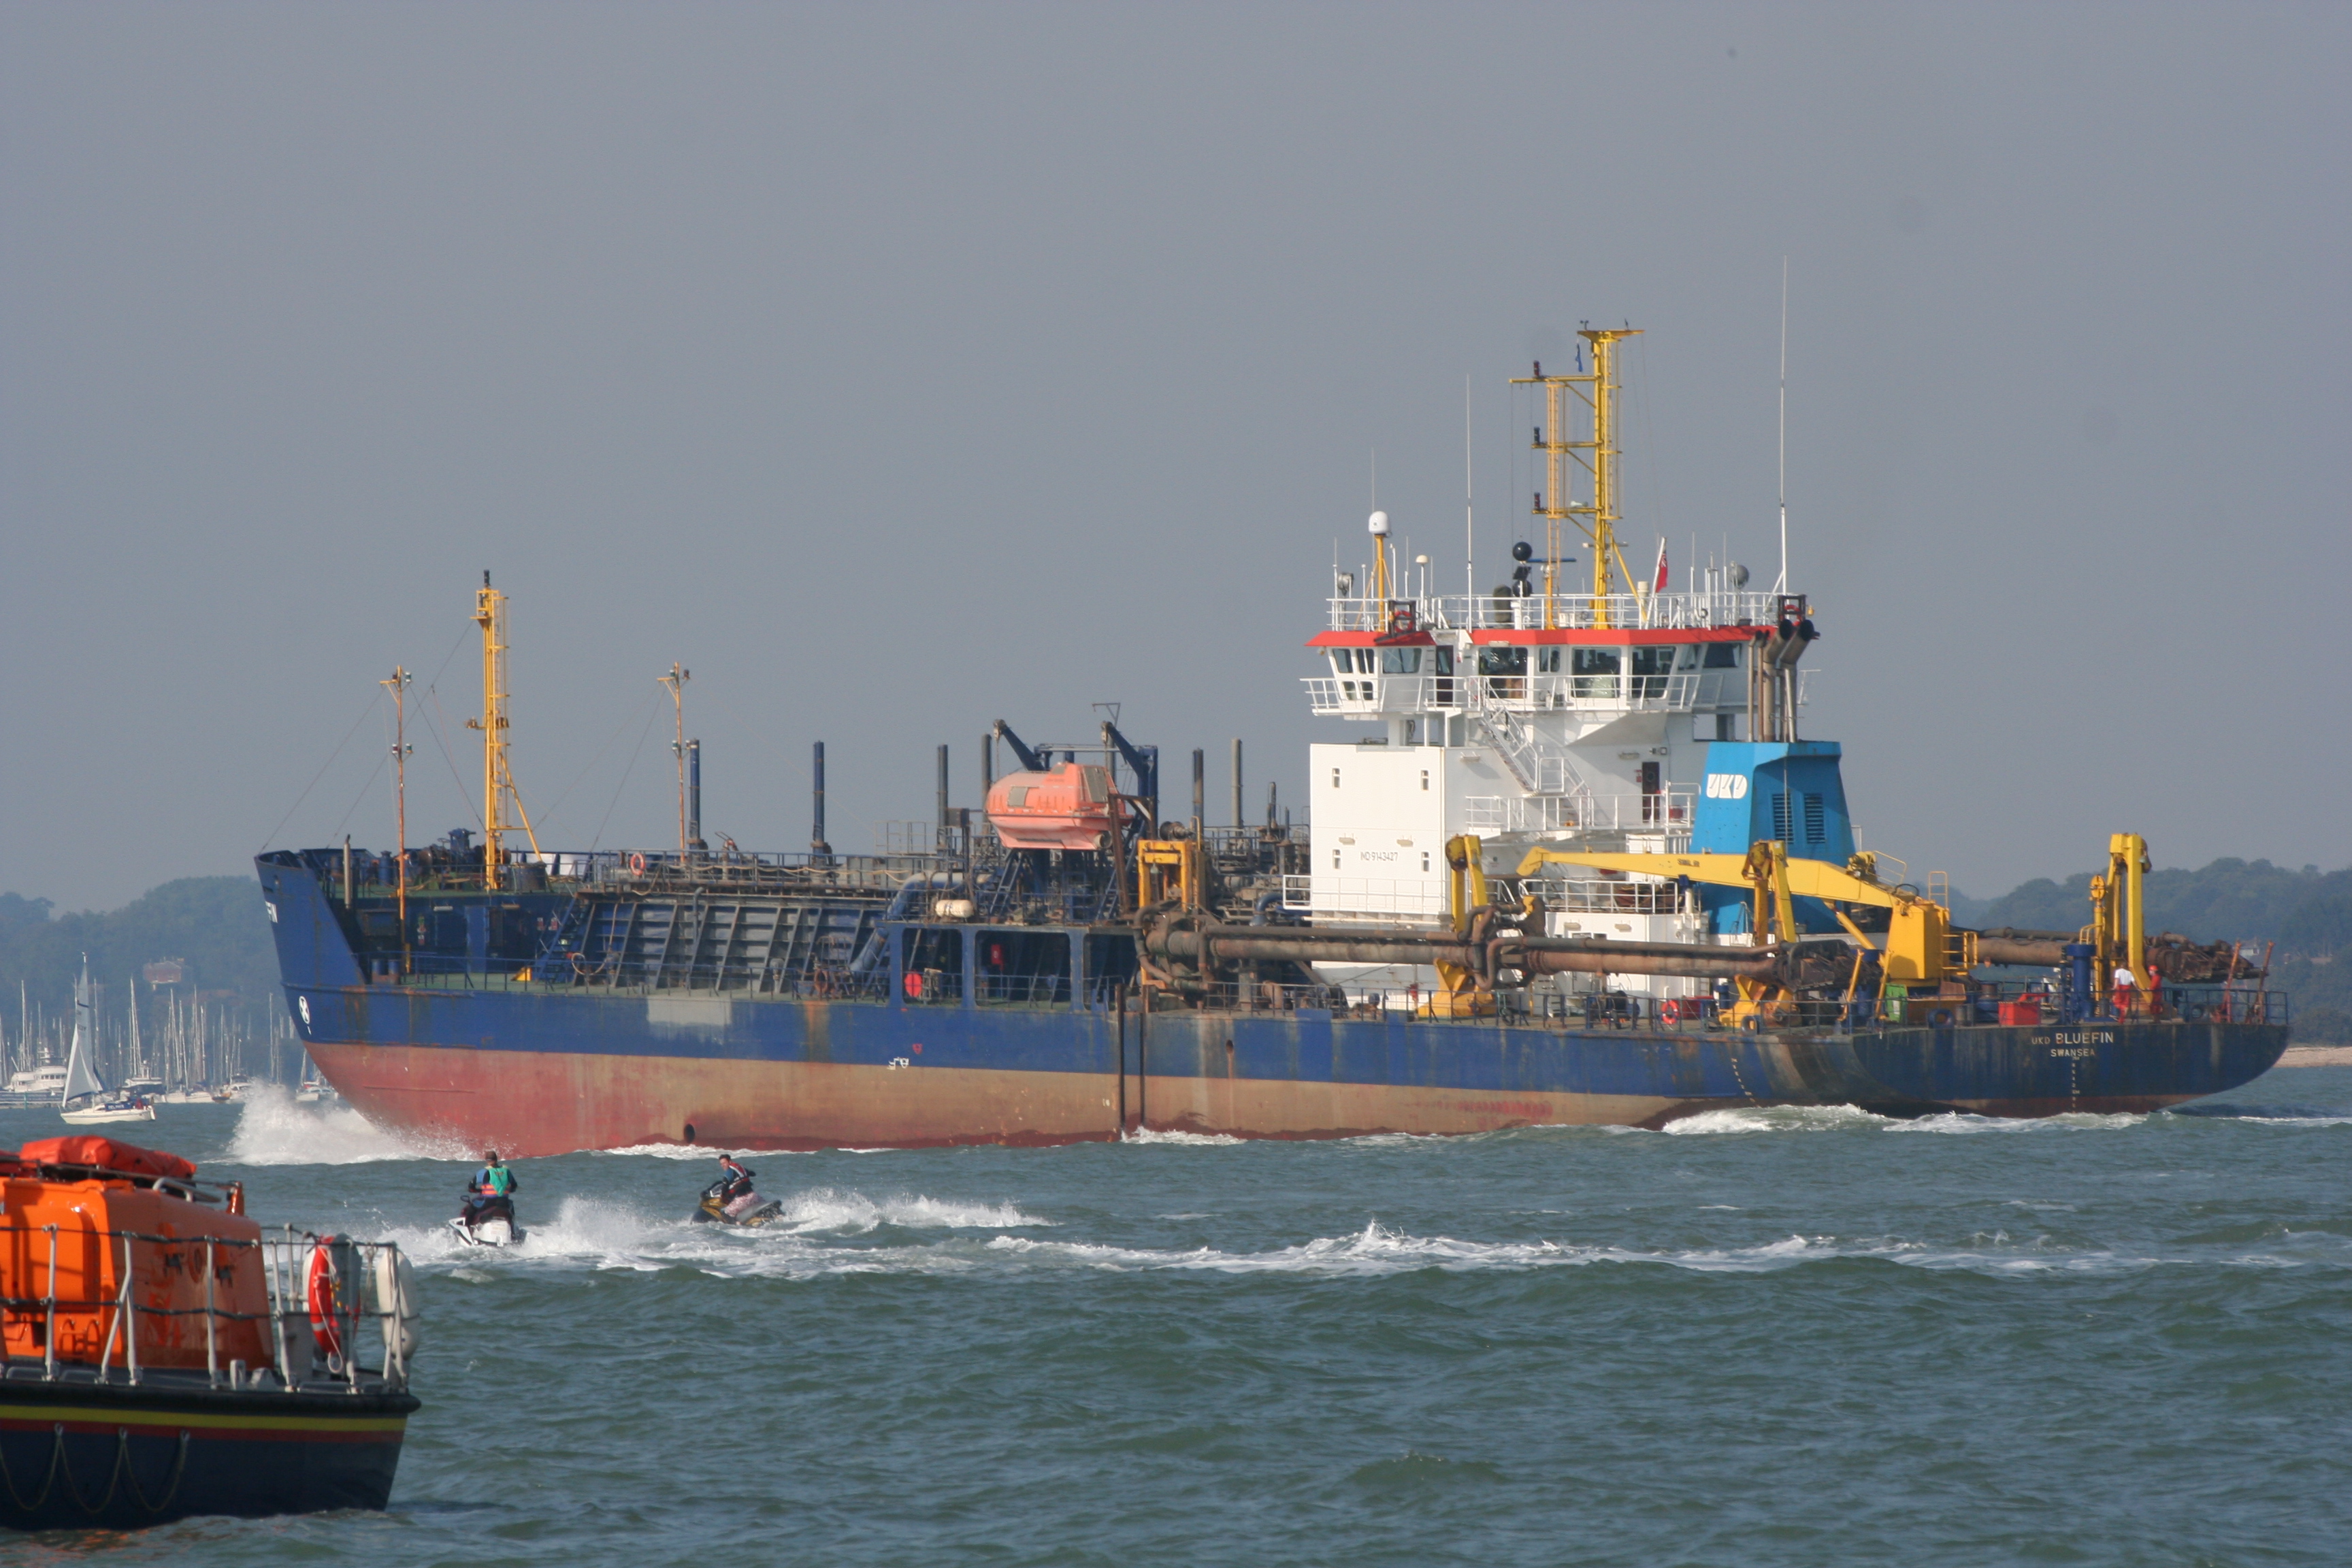
Right then, now the colour has been tweaked, all the rubbish has been taken out and the ship levelled, we might need to sharpen the image slightly. Sharpening can not take care of rubbish focussing. What it can do is to make the edges of objects look a little more crisp, to restore what lenses will take away.
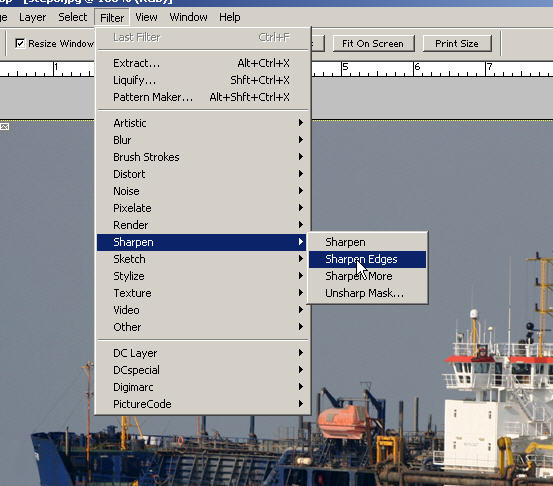
All the experts will tell you that the best method of sharpening is the tried and tested "Unsharpen Mask" method and they are probably right. I have found that it is quicker and simpler to use the Photo Shop "Sharpen Edges" utility. First, select the Filters menu item, then the Sharpen and Sharpen Edges choice on the fly-out menu. This will imediately carry out a sharpening operation. It is quite likely that the objects in the your image may be over-sharpened (bottom left image). No problem. Go to the Edit menu and, from the drop-down menu, choose "Fade Sharpen Edges". A box will appear which allows you to soften the amount of sharpening by choosing a percentage value either by using the slider or by entering a number directly into the value box (bottom right image). A value of 100% means full sharpening remains; as you decrease the percentage value, the amount of sharpening decreases with it. Experiment with different values until you get the sort of image you are happy with. And that is it! Done & dusted.